How to Connect AirPods Pro Max to Laptop – Bluetooth Setup Guide for Windows and Mac
Disclosure: This post contains affiliate links. LaptopVoyager.com participates in the Amazon Associates Program and may earn commissions on qualifying purchases, at no extra cost to you.
Last Updated: February 2026
The AirPods Pro Max can connect to most modern laptops using Bluetooth. Whether you’re using Windows or macOS, the setup process is straightforward once Bluetooth is enabled.
This guide explains how to connect AirPods Pro Max to laptop systems step by step, including pairing mode, device detection, and basic troubleshooting.
👉 For a broader overview of compatible audio devices, see our guide to best laptop audio gear.
🔍 Before You Start: Check Bluetooth Support
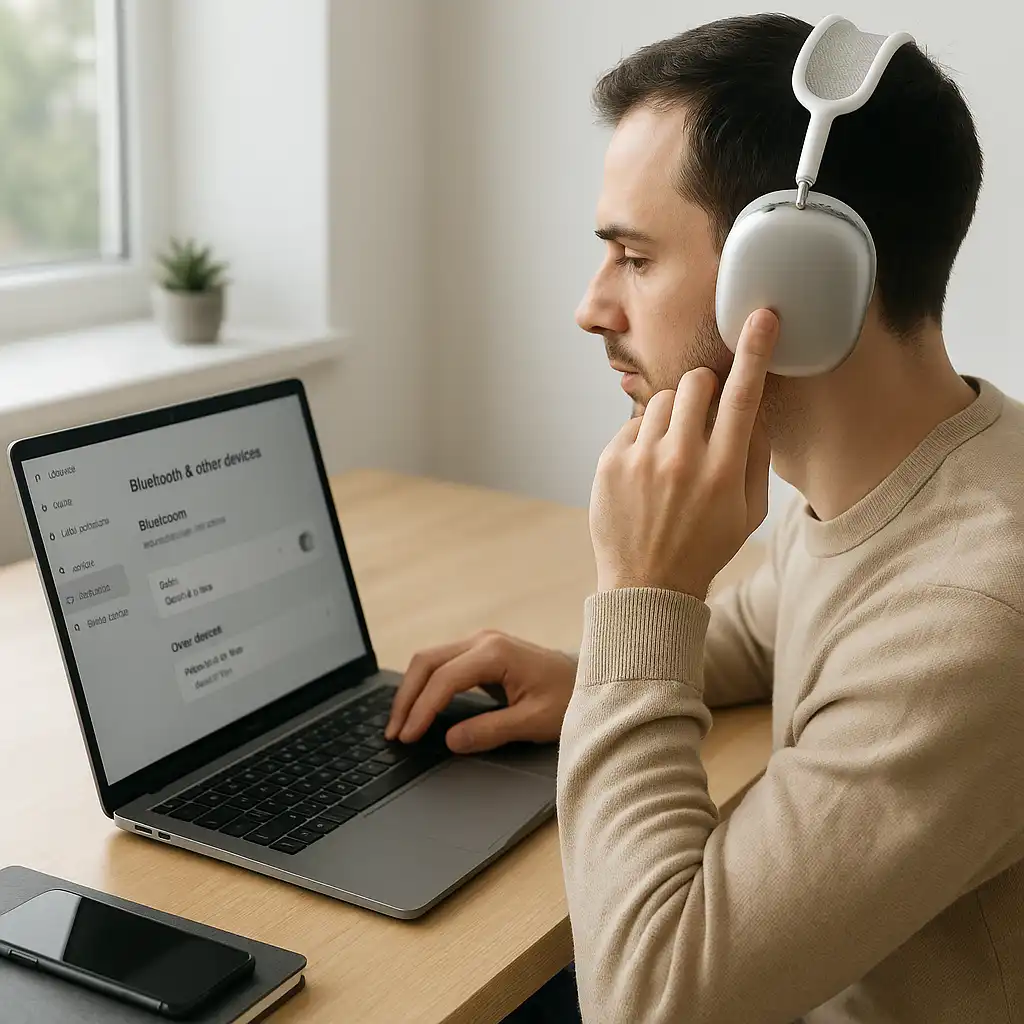
Most modern laptops include built-in Bluetooth. You can confirm this in your system settings under Bluetooth & Devices (Windows) or System Settings → Bluetooth (macOS).
If your laptop doesn’t support Bluetooth, you’ll need a USB Bluetooth adapter.
🔍 How to Put AirPods Pro Max in Pairing Mode
To connect AirPods Pro Max to a laptop:
- Press and hold the noise control button until the status light flashes white.
- This indicates the headphones are in pairing mode.
The flashing white light means the device is discoverable by nearby Bluetooth systems.
🔍 How to Connect AirPods Pro Max to a Windows Laptop
- Open Settings → Bluetooth & Devices.
- Turn Bluetooth on if it isn’t already enabled.
- Select Add device → Bluetooth.
- Choose “AirPods Pro Max” from the list.
Once connected, Windows should route audio automatically to the headphones. You can adjust output settings under Sound settings if needed.
🔍 How to Connect AirPods Pro Max to a MacBook
- Open System Settings → Bluetooth.
- Ensure Bluetooth is turned on.
- Select “AirPods Pro Max” from the available devices list.
- Click Connect.
According to Apple documentation, once paired, the headphones can reconnect automatically when Bluetooth is enabled.
🔍 Using a Wired Connection (Optional)
AirPods Pro Max primarily operate via Bluetooth. However, Apple offers an optional Lightning-to-3.5mm audio cable for wired listening.
This can be useful if Bluetooth isn’t available or if you prefer a wired audio path. Wired use does not require pairing mode.
🔍 Troubleshooting Connection Issues
If the headphones don’t appear in the device list:
- Ensure pairing mode is active (flashing white light)
- Turn Bluetooth off and back on
- Restart your laptop
- Remove the device from known devices and reconnect
Also confirm your laptop’s Bluetooth drivers are up to date.
📌 Key Takeaways
- AirPods Pro Max connect via standard Bluetooth
- Pairing mode is activated by holding the noise control button
- Windows and macOS both support Bluetooth audio
- Wired listening is possible with an optional cable
- Most issues are resolved by resetting Bluetooth or re-pairing
🟢 FAQs
Q: Do AirPods Pro Max work with Windows laptops?
Yes. They connect through standard Bluetooth just like other wireless headphones.
Q: Can I use AirPods Pro Max with a wired connection?
Yes, with Apple’s optional Lightning-to-3.5mm audio cable.
Q: Why won’t my laptop detect AirPods Pro Max?
The headphones may not be in pairing mode, or Bluetooth may need to be restarted.
Q: Do AirPods Pro Max reconnect automatically?
On macOS systems, they typically reconnect automatically once paired and Bluetooth is enabled.
✅ Conclusion
Learning how to connect AirPods Pro Max to laptop systems mainly involves enabling Bluetooth and activating pairing mode. Both Windows and macOS support standard Bluetooth audio connections.
Once paired, the headphones should reconnect automatically, making them convenient for regular laptop use.