How to Install an SSD in a Laptop – Step-by-Step Upgrade Guide
Disclosure: This post contains affiliate links. LaptopVoyager.com participates in the Amazon Associates Program and may earn commissions on qualifying purchases, at no extra cost to you.
Last Updated: February 2026
Installing an SSD in a laptop is one of the most practical upgrades for improving boot speed and overall responsiveness. Many laptops support either 2.5-inch SATA SSDs or M.2 NVMe drives, depending on the internal design.
This guide explains how to check compatibility, choose the correct SSD type, and complete the installation safely.
👉 If you’re still choosing a drive, see our complete guide to the best laptop ssd upgrade.
🔍 Step 1: Confirm SSD Compatibility
Before purchasing anything, confirm your laptop supports storage upgrades. Check the manufacturer’s specifications page or service manual for:
- M.2 slot availability
- SATA bay presence
- Maximum supported capacity
- PCIe generation (Gen3, Gen4, or Gen5)
If you’re unsure what storage type your laptop currently uses, our guide on how to check if your laptop has ssd or hdd explains how to verify it.
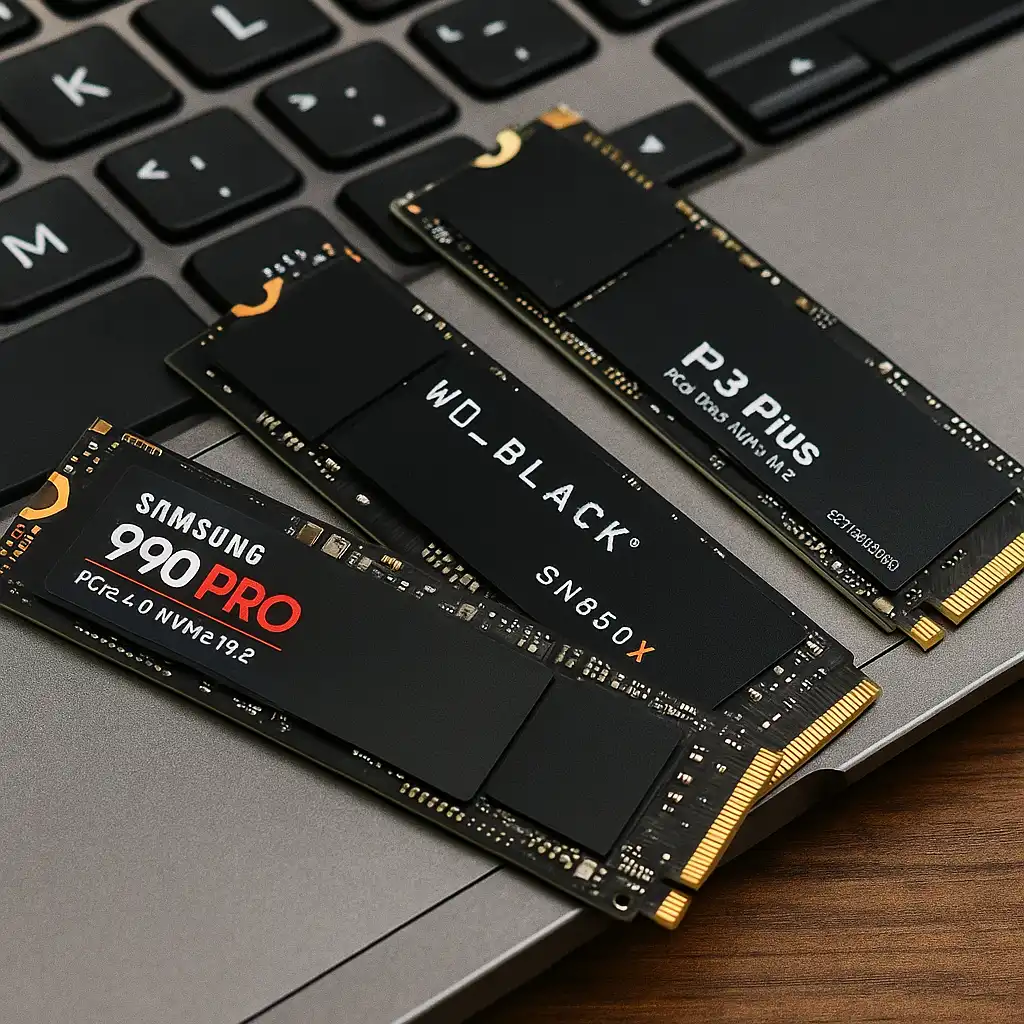
🔍 Step 2: Choose the Correct SSD Type
Laptops typically support one of these internal SSD formats:
- 2.5-inch SATA SSD – Common in older laptops
- M.2 NVMe SSD – Used in most modern laptops
NVMe drives offer higher theoretical speeds due to PCIe bandwidth, based on manufacturer specifications. However, installing an NVMe drive in a SATA-only slot is not possible, so compatibility must match.
🔍 Step 3: Back Up Your Data
Before opening your laptop, back up important files. You can use cloud storage, an external drive, or system backup tools.
If you plan to clone your existing drive instead of reinstalling your operating system, many SSD manufacturers provide migration software.
🔍 Step 4: Power Off and Open the Laptop
- Shut down the laptop completely.
- Unplug the power adapter.
- Remove the bottom panel using a compatible screwdriver.
- Disconnect the battery if accessible (recommended when supported by the design).
Always consult your manufacturer’s service documentation before opening the device to avoid warranty issues.
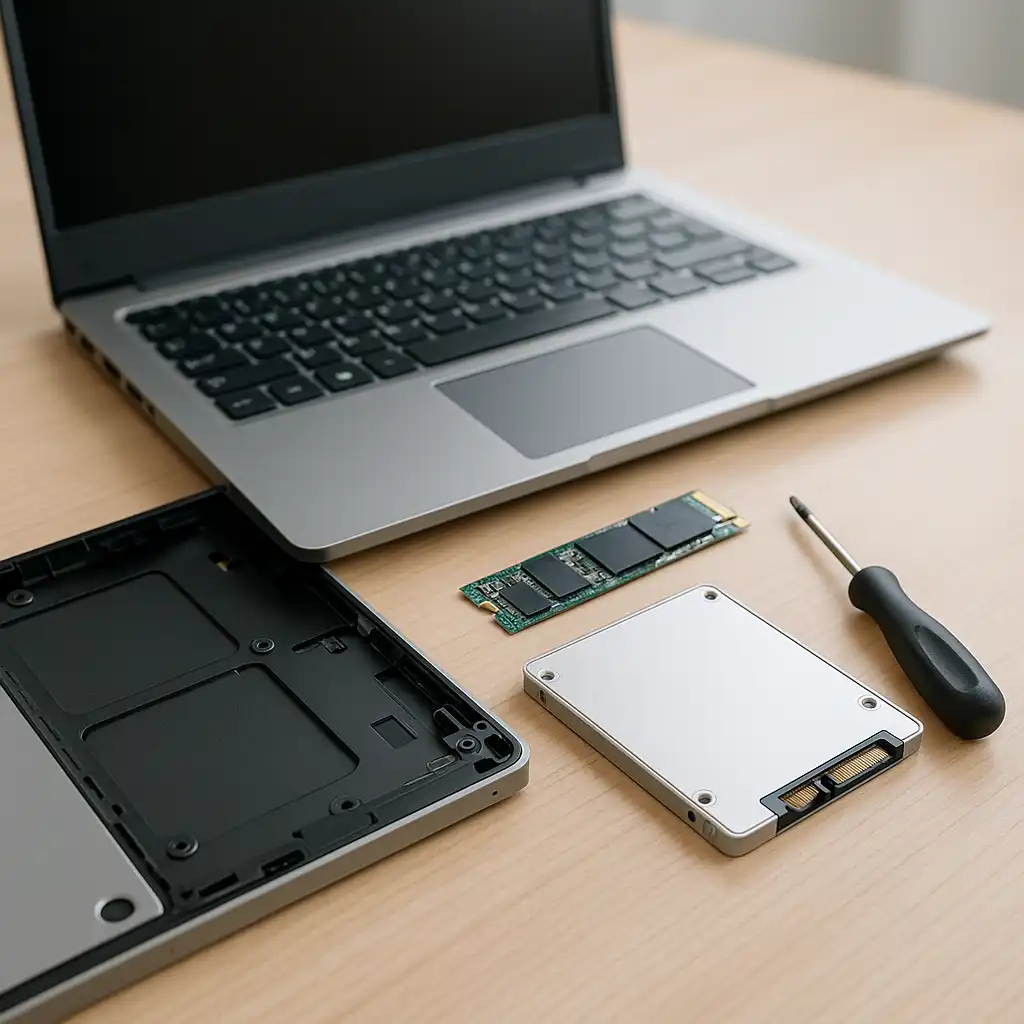
🔍 Step 5: Install the SSD
For M.2 NVMe SSD:
- Locate the M.2 slot.
- Insert the SSD at a slight angle (typically 30 degrees).
- Gently press it down and secure it with the mounting screw.
For 2.5-inch SATA SSD:
- Remove the existing drive (if replacing).
- Insert the SSD into the drive bracket.
- Connect the SATA cable securely.
- Reinstall the bracket in the bay.
🔍 Step 6: Install or Clone the Operating System
After installation, you have two main options:
- Fresh OS install using a bootable USB drive
- Drive cloning from your previous storage device
A clean installation may provide the most stable setup, while cloning preserves your files and applications.
If you’re replacing an HDD entirely, our guide on how to replace a hard drive with an ssd explains the full swap process.
🔍 Step 7: Verify Drive Recognition
Once the laptop is reassembled:
- Power it on.
- Enter BIOS/UEFI if necessary to confirm the drive is detected.
- In Windows, open Disk Management to initialize the SSD if required.
If the system does not detect the drive, recheck physical connections and compatibility.
📌 Key Takeaways
- Confirm compatibility before purchasing an SSD
- Match SATA or NVMe type to your laptop’s slot
- Back up data before installation
- Follow manufacturer documentation when opening the device
- Install OS or clone your previous drive after hardware setup
🟢 FAQs
Q: Can I install an SSD without professional help?
Many users can complete the upgrade with basic tools, provided the laptop supports storage replacement and instructions are followed carefully.
Q: Will installing an SSD make my laptop faster?
Upgrading from an HDD to an SSD typically improves boot time and file loading speed due to faster storage access.
Q: Do all laptops support NVMe SSDs?
No. Only laptops with M.2 PCIe slots support NVMe drives. Always verify specifications.
Q: Is it better to clone or reinstall Windows?
Both methods work. A clean installation may reduce software clutter, while cloning preserves your current setup.
✅ Conclusion
Learning how to install an SSD in a laptop is a practical way to extend system lifespan and improve responsiveness. The key steps are confirming compatibility, selecting the correct SSD type, and following safe installation procedures.
When done correctly, an SSD upgrade can modernize older systems and enhance everyday usability.