How to Replace a Hard Drive with an SSD – Complete Upgrade Walkthrough
Disclosure: This post contains affiliate links. LaptopVoyager.com participates in the Amazon Associates Program and may earn commissions on qualifying purchases, at no extra cost to you.
Last Updated: February 2026
Replacing a hard drive with an SSD is one of the most effective ways to improve laptop responsiveness. Traditional HDDs use mechanical components, while SSDs rely on flash memory for faster data access.
This guide explains how to confirm compatibility, remove the old drive, install the SSD, and set up your operating system properly.
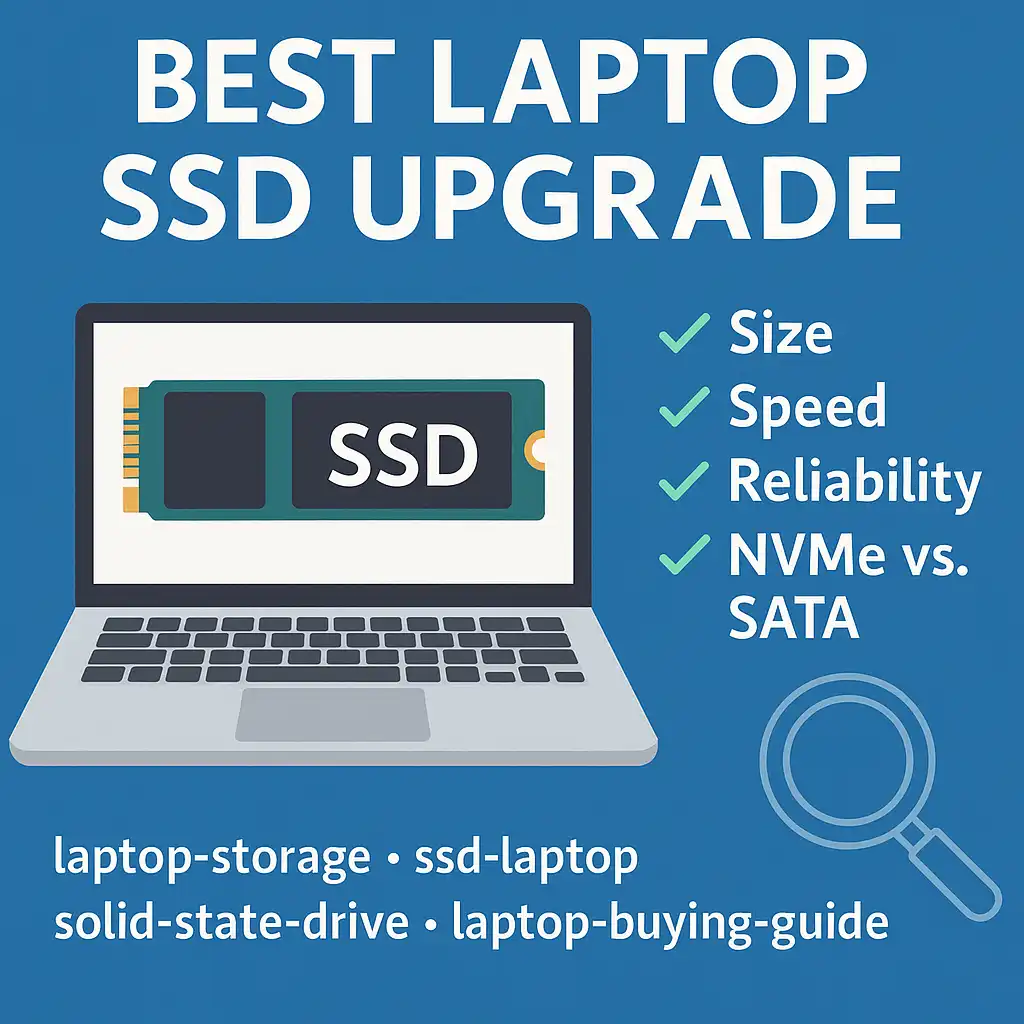
👉 If you’re still choosing a drive, see our complete guide to the best laptop ssd upgrade.
🔍 Step 1: Confirm Your Laptop Supports Drive Replacement
Before starting, verify your laptop allows storage replacement. Some ultra-thin models use soldered storage, which cannot be swapped.
Check your manufacturer’s service manual for:
- 2.5-inch SATA bay presence
- M.2 slot availability
- Maximum supported capacity
If you’re unsure what storage type you currently have, our guide on how to check if your laptop has ssd or hdd explains how to verify it.
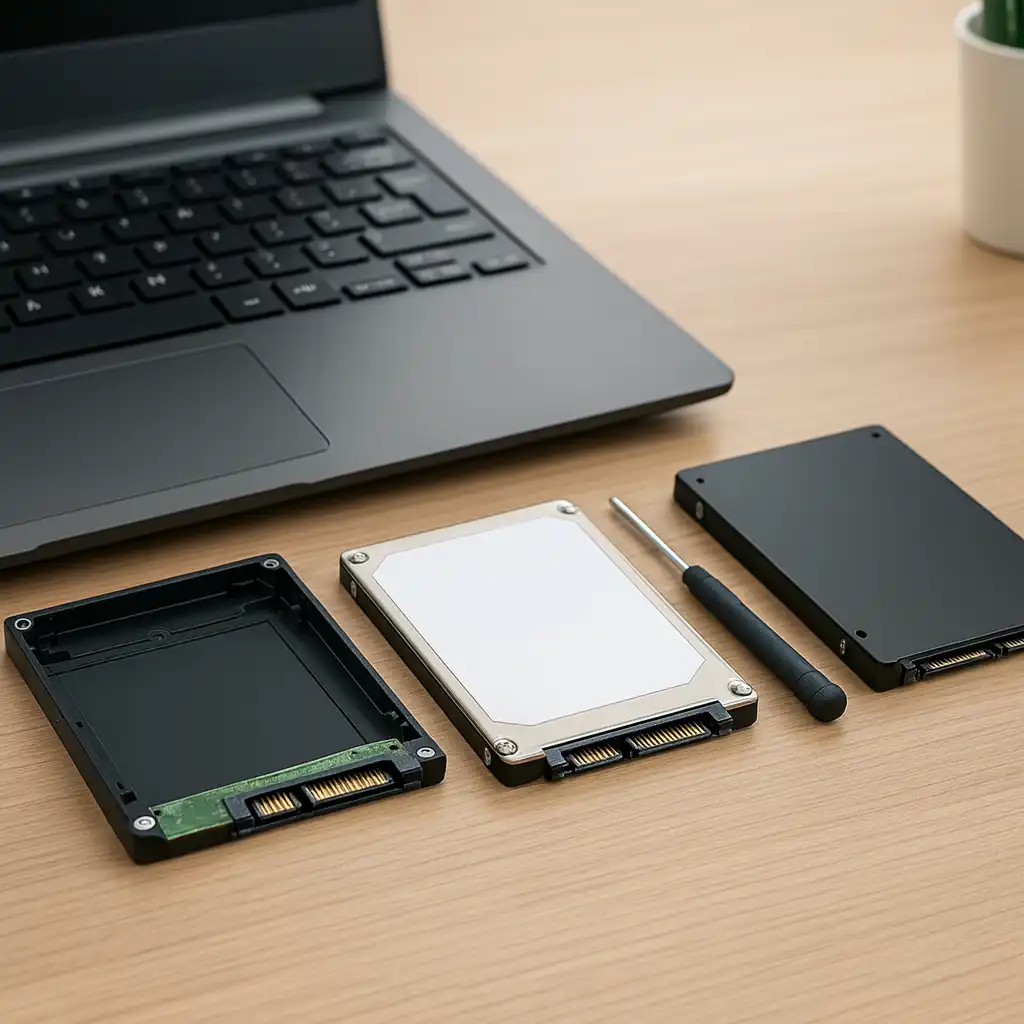
🔍 Step 2: Choose a Compatible SSD
Most HDD replacements involve installing a 2.5-inch SATA SSD in the same bay. SATA SSDs are designed to fit directly into standard HDD slots.
If your laptop supports NVMe instead, that installation process differs slightly. Our guide on how to install an ssd in a laptop explains the differences between SATA and NVMe installations.
Capacity choice depends on your needs. Many users choose 1TB for balanced storage, while larger media libraries may require 2TB.
🔍 Step 3: Back Up Your Data
Before removing the HDD, back up important files. You can use cloud storage, an external drive, or disk imaging software.
If you want to keep your existing operating system and applications, cloning the HDD to the SSD is an option. Some SSD manufacturers provide migration tools for this purpose.
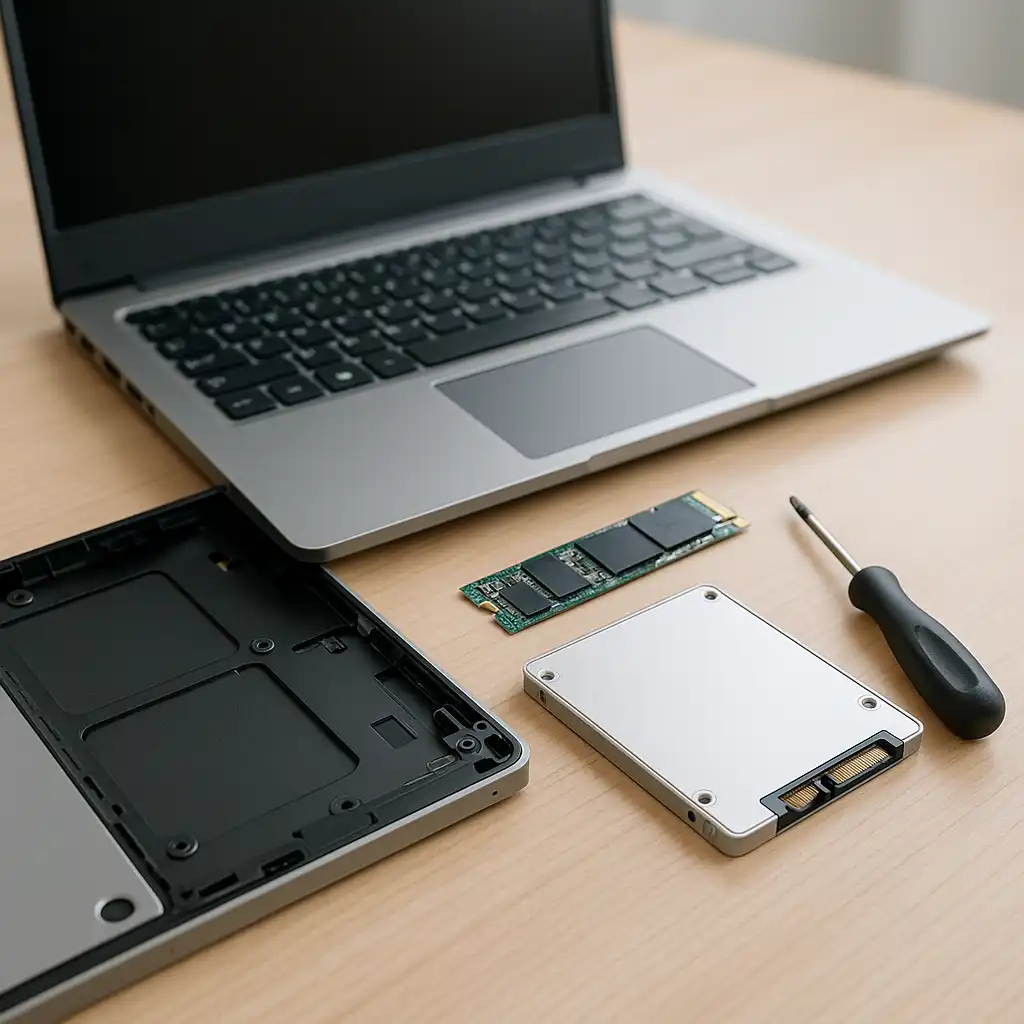
🔍 Step 4: Remove the Hard Drive
- Power off the laptop completely.
- Unplug the power adapter.
- Remove the bottom panel using the appropriate screwdriver.
- Disconnect the battery if accessible.
- Locate the 2.5-inch drive bay.
- Remove the mounting screws and disconnect the SATA cable.
Handle the drive carefully to avoid damaging connectors.
🔍 Step 5: Install the SSD
- Insert the SSD into the drive bracket.
- Connect the SATA cable securely.
- Reinstall the bracket into the bay.
- Secure with screws.
- Reassemble the laptop panel.
Make sure the drive sits firmly in place before closing the device.
🔍 Step 6: Install or Restore the Operating System
After installing the SSD, you have two main options:
- Clone the old drive if you backed it up using imaging software
- Perform a clean OS installation using a bootable USB installer
A clean installation may provide a fresh system setup, while cloning preserves existing applications and settings.
🔍 Step 7: Verify the Upgrade
Power on the laptop and enter BIOS/UEFI if needed to confirm the SSD is detected.
In Windows, open Disk Management to initialize and format the drive if performing a fresh install.
Once the operating system loads from the SSD, you should notice improved startup and application loading speeds compared to the HDD.
📌 Key Takeaways
- Most HDD replacements use 2.5-inch SATA SSDs
- Always verify compatibility before purchasing
- Back up or clone data before removing the hard drive
- Installation requires careful removal and reconnection of the SATA cable
- SSD upgrades typically improve system responsiveness
🟢 FAQs
Q: Is replacing an HDD with an SSD worth it?
For laptops currently using HDD storage, switching to an SSD often improves boot time and file access speed.
Q: Will I lose my files when replacing the drive?
You will unless you back up or clone your data beforehand.
Q: Is SATA slower than NVMe?
Yes. NVMe SSDs offer higher theoretical speeds due to PCIe bandwidth.
Q: Can any laptop HDD be replaced?
Not all laptops allow drive replacement. Always confirm manufacturer specifications.
✅ Conclusion
Learning how to replace a hard drive with an SSD can extend your laptop’s usable lifespan and improve responsiveness.
The key steps are confirming compatibility, backing up data, carefully installing the SSD, and properly setting up the operating system. When supported by your laptop design, this upgrade remains one of the most practical performance improvements available.